Ceramic Wall Installation
 There's nothing complicated about stove technology on the wall. At the flat walls, with good materials and tools, it could be even a rookie. If the walls have sufficiently large irregularities and fractures, then it will be harder to put the plug down, especially if this is the first time. In this case, when stoves are laid in non-regulated locations, they usually adjust the thickness of glue to achieve a smooth layout.
Most often, first On the floorand then the walls, but the opposite. In the first option, when the walls are lit, the stoves are directly attached to the floor stoves. In the second option, the lower row plates shall be placed at a distance from the floor so that the layer of cement solution and the stove can then be removed.
Surfaces on which the stove fits
♪ An obscure ground, if new, must be completely dry; if the old one was covered with paint, it must be carefully scratched to ensure good clutch.
♪ Hypsocarton leaflets (HC) shall be attached to a solid base that is not deformed. It is desirable that the hipsocarton be water resistant, especially in the bathrooms.
- Bethon base.
♪ The base already covered by the stick. It's also possible to put a new plug on the old plug, provided the first one is well on the wall. In addition, it is not recommended that the stove should be economized, since a special mixture is needed that can glue the stove.
♪ The deteriorated base should be well scratched to improve adhesives (conductions).
Preparation of stove walls
The surface on which the stove fits shall be flat. Clean the wall of dust, dirt and old solution. Sensible irregularities and cherries, process the box. Send the surface to facilitate adhesion. If necessary, lay down the layer of cement mixture: it will produce a uniform surface. In two or three hours, when this layer is dried up, the de facto technician will put a second layer on which to put the plug.
The stove starts with the second lower row. The first lower row is the last and is cut where necessary. Crusts for the lining plate shall normally be 1, 5 or 2 mm.
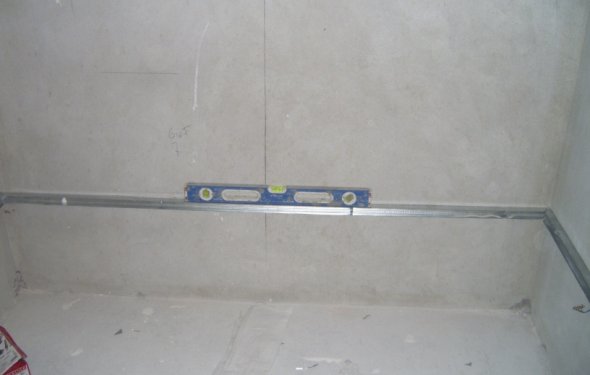
At first, it is necessary to find and celebrate appropriate horizontal and vertical lines in order to begin laying the plug. And locate the lowest point of the wall.